-
C/O 2221 Remington Ave, Ontario, Californien


How to Avoid Bubbles Under Your Silicone Nipple Covers.
There’s nothing more annoying than putting on a fresh pair of silicone nipple covers, pulling on your favorite top, and then noticing two little bumps underneath.
At first, you may think the covers are defective. Sometimes they are. But in many cases, the covers themselves are perfectly fine. A little moisture, a small fold, or one badly placed edge is enough to create that raised, uneven look.
I’ve found that most bubbling problems start before the cover is fully attached. People are in a hurry, the skin isn’t quite dry, or the cover gets pressed down from the wrong direction. Then they try to fix it by rubbing harder. Usually, that only makes things worse.
The good news is that you don’t need a complicated trick. You just need to slow down at the right moment.
Indholdsfortegnelse
Why do bubbles appear under silicone nipple covers?
Usually, there’s air or moisture trapped between the cover and the skin.
That can happen for several reasons. Maybe you applied body lotion earlier in the morning. Maybe you were getting dressed straight after a shower. Maybe the cover landed slightly off-center and folded as you tried to move it into place.
Once part of the cover sticks and another part doesn’t, air can sit underneath. Under a loose shirt, you may not notice it. Under a fitted T-shirt or satin top, it becomes obvious very quickly.
The most common causes are:
- Damp or sweaty skin.
- Oil, lotion, or sunscreen.
- A cover placed at an angle.
- Pressing down the edge before the middle.
- Pulling or stretching the silicone.
- Folding the cover during storage.
- Touching the adhesive too much.
- Using a cover that has already lost its shape.
One thing worth remembering: pressing harder is not always the solution. If the cover is in the wrong position, more pressure won’t magically make it flat.
What should you do before applying them?
Give the skin a proper clean and make sure it is completely dry.
Not almost dry. Not dry except for one little damp patch. Completely dry.
Wash the area with mild soap and water, then dry it with a clean towel. If you’ve just had a hot shower, wait a few minutes before applying the covers. Your skin may feel dry, but warmth and moisture can still affect the adhesive.
Try not to use these products right before application:
- Body lotion.
- Body oil.
- Sunscreen.
- Perfume.
- Self-tanner.
- Powder.
- Cream-based products.
This is where many “the adhesive doesn’t work” complaints actually begin. The product may be fine, but it’s trying to stick to a layer of oil or moisturizer instead of the skin.
What if you have chest hair?
A little body hair usually isn’t a major issue. Thicker hair can make it harder for the cover to sit flat, though, especially around the edges.
If you shave or trim first, don’t apply the cover immediately afterward. Freshly shaved skin can be sensitive, and adhesive may cause more irritation than expected. Give the skin some time to settle.
Should you warm the cover first?
If the silicone feels stiff, warm it gently between your hands for a few seconds.
That’s all you need. Don’t use a hair dryer, and don’t put the covers near a heater. You’re not trying to heat the product. You’re just making it a little easier to handle.
Cold silicone can feel less flexible, especially in an air-conditioned room. A few seconds between your palms may help it follow the shape of the skin instead of springing back.
If the cover is already soft and easy to handle, you can skip this step.
How do you put them on without trapping air?
Start in the middle and work toward the edges.
This is the part that makes the biggest difference. Don’t stick one side down first and then drag the rest of the cover across the skin. That’s how folds and air pockets appear.
Try it this way:
- Wash and dry the skin.
- Make sure your hands are clean and dry.
- Hold the cover by the edges.
- Remove the backing without touching the adhesive too much.
- Position the cover before pressing it down.
- Place the center over the nipple area.
- Press the middle gently.
- Smooth upward, downward, and sideways.
- Finish by pressing around the edge.
Think about applying a phone screen protector. You start at one point and push the air out as you go. The same idea works here.
Don’t stretch the silicone while applying it. It may look like stretching will help you cover more area, but it can also make the material pull back and form a crease.
How hard should you press?
Firmly, but not aggressively.
Once the cover is in the right position, hold it against the skin for several seconds. Give the adhesive a chance to bond. If it already looks smooth, leave it alone.
Constantly rubbing the surface can do more harm than good. Your fingers may transfer oil to the adhesive, and too much movement can shift the cover.
What if you notice a bubble right away?
Don’t keep pressing the bubble. Lift that section and start again.
If you catch it early, the fix is usually simple:
- Stop pressing.
- Lift the part around the bubble.
- Check whether the skin is dry.
- Place the center down again.
- Smooth toward the edge.
- Press the perimeter once everything is flat.
For a tiny bubble, a gentle outward motion may be enough. For a larger bubble, repositioning works better than pushing harder.
If the cover has developed a clear fold, remove it slowly and try again. Yes, it’s annoying. But it’s still better than wearing a cover that shows through your clothes all evening.
And please don’t poke the bubble with a needle. That may seem like a quick fix, but it can permanently damage the silicone.

Why do wrinkles show up too?
Wrinkles and bubbles often come from the same mistake: the cover wasn’t laid down evenly.
A wrinkle may appear because the cover was folded in the drawer, stretched during application, or applied while the skin was damp. Sometimes the material itself has changed shape after being stored badly.
If it’s only a small crease, lift that part and smooth it down again. Don’t pull hard. Silicone is flexible, but that doesn’t mean it can be stretched endlessly without changing shape.
If the same wrinkle keeps coming back, the cover may be worn out or permanently misshapen.
Could the cover itself be faulty?
Yes, that can happen.
There’s a difference between an air bubble underneath the cover and a bubble or mark inside the silicone. The first one is usually caused by application. The second may be a material or manufacturing problem.
Here’s a quick way to tell them apart:
| What you notice | What it probably means |
|---|---|
| A pocket between your skin and the cover | Air or moisture underneath |
| A crease on the surface | Folding or uneven application |
| A mark inside the silicone | Possible material defect |
| The edge keeps peeling up | Oil, sweat, weak adhesive, or poor contact |
If a new cover has a visible mark inside the silicone that doesn’t change when you press it, take a photo and contact the seller. Reapplying it won’t fix a defect inside the material.
For manufacturers and buyers, this distinction is important. A customer can correct a trapped air pocket. They cannot correct a void created during molding.
Can sweat cause bubbles after application?
Yes. A cover may look perfect when you put it on and start lifting later once sweat builds up.
This can happen during:
- Running.
- Gym workouts.
- Dancing.
- Outdoor events.
- Hot weather.
- Long periods in humid conditions.
A cover that works well in a cool bedroom may not behave the same way during a summer event. That’s why I always recommend testing new covers before wearing them for a wedding, performance, photoshoot, or any other occasion where you really need them to stay put.
For heavy exercise, a sports adhesive patch may be a better choice than a reusable silicone cover designed mainly for appearance. The most invisible product isn’t always the most breathable one.
Can the shirt make a small bubble look worse?
Definitely.
A thicker cotton T-shirt may hide a tiny uneven spot. Satin, thin jersey, white fabric, and tight compression material will not be nearly as forgiving.
Before you leave home, check the covers under the actual top you plan to wear. Don’t only stand in front of the mirror. Sit down. Move your arms. Turn sideways. Stretch a little.
Look for:
- A visible edge.
- A raised spot.
- A crease.
- A shiny patch.
- Movement when you bend or reach.
Sometimes the cover is fine, but the fabric catches the edge and makes it look worse. A matte finish usually blends more quietly than a glossy one, but the shirt still matters a lot.
How should you store silicone nipple covers?
Keep them flat, clean, and covered.
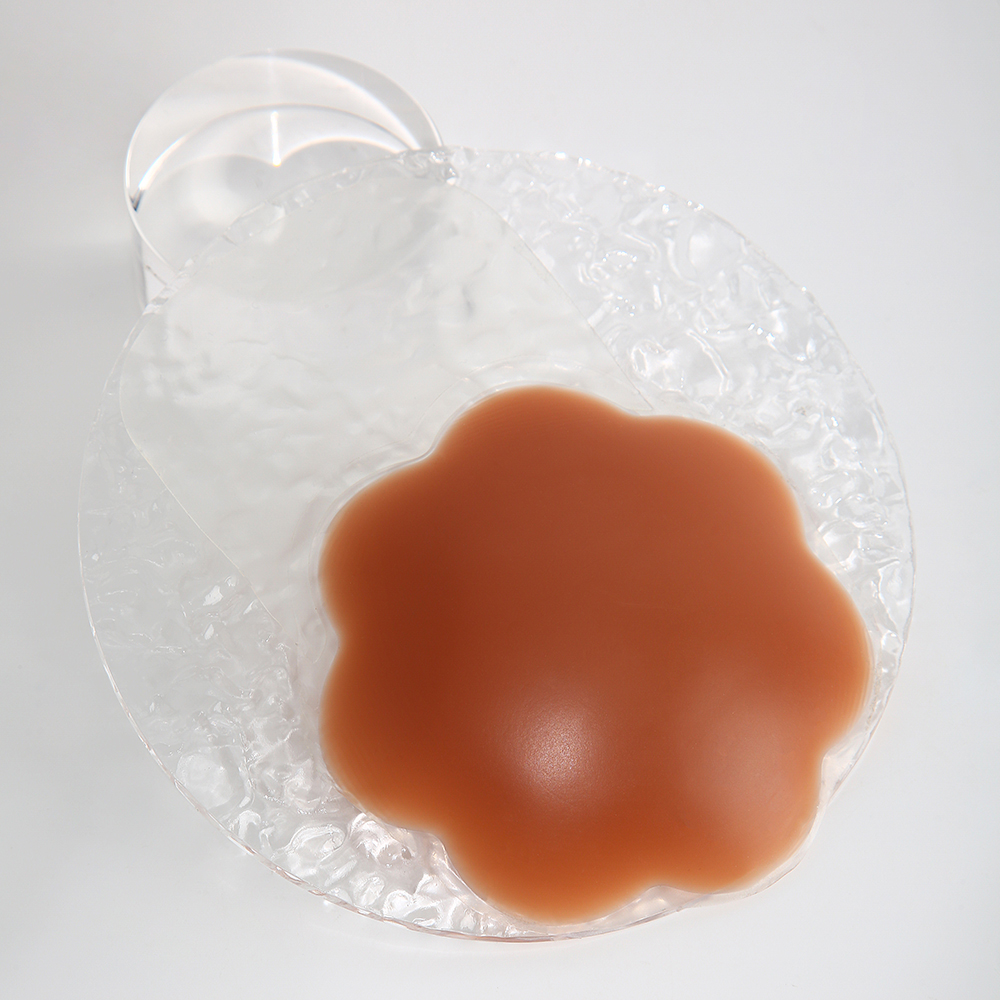
The original tray or protective film is usually the safest place. It keeps dust, hair, lint, and other bits away from the adhesive.
Avoid throwing them loose into a handbag or bathroom drawer. Don’t fold the adhesive side onto itself. Don’t leave them in a hot car or in direct sunlight.
A cover that has been folded overnight may still look usable, but it may not sit flat the next time you wear it. Storage is boring, I know. It’s also one of the easiest things to get right.
Can you reuse a cover after it bubbles?
Usually, yes, as long as the cover is still clean, flat, and sticky.
An application mistake doesn’t automatically ruin the product. Remove it carefully, clean it according to the manufacturer’s instructions, and let it dry fully before using it again.
Replace the cover if:
- It stays wrinkled.
- The adhesive remains weak after cleaning.
- The edges keep lifting.
- The material has stretched.
- Dust or lint covers the adhesive.
- You see cracks, tears, or permanent marks.
At some point, the problem isn’t your application technique. The cover has simply had enough.
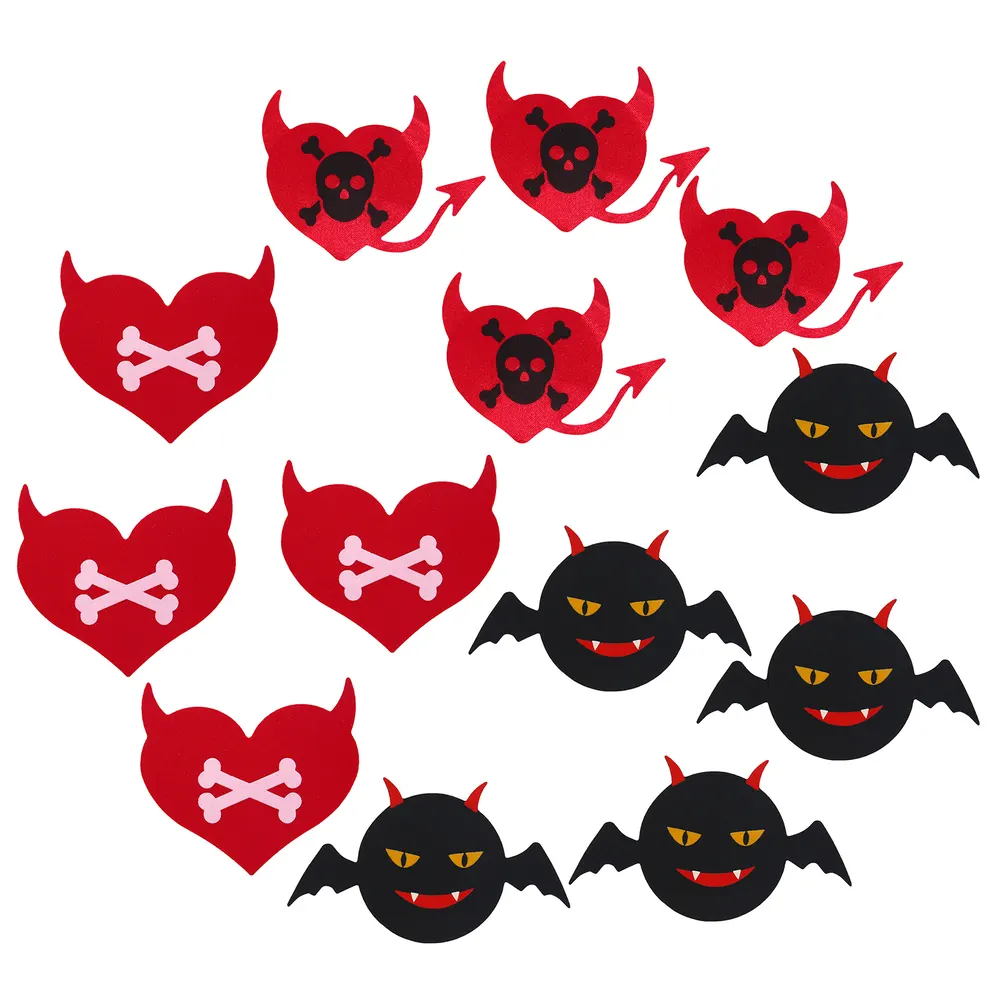
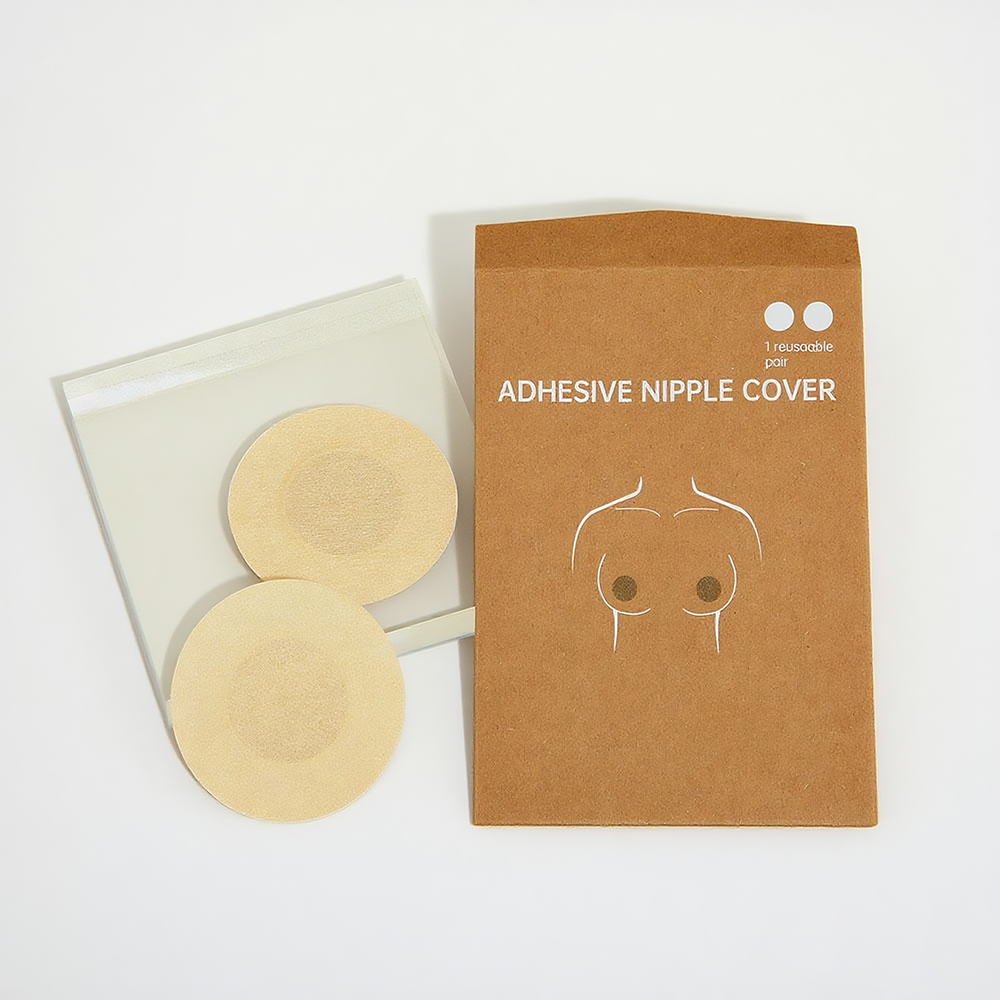
If you use silicone covers often, a genanvendeligt nippelbetræk is usually the more practical option. If you only need coverage for one evening, a engangs nippelbetræk may be less hassle.
Are non-adhesive covers less likely to bubble?
They can be, but they’re not completely bubble-proof.
Non-adhesive silicone covers rely on shape, light suction, and contact with the skin. If the cover isn’t centered or air gets trapped underneath, you can still end up with an uneven surface.
They may work well for:
- Everyday shirts.
- People who dislike sticky adhesives.
- Shorter wear periods.
- Repeated use.
- Low-sweat situations.
They may not be the best choice for:
- Running.
- High-impact workouts.
- Very humid weather.
- Loose clothing.
- Long events where strong hold is important.
There isn’t one perfect style for everyone. It depends on what you’re wearing and how much movement the product has to handle.
What should you check before getting dressed?
Take one final look before pulling your top over the covers.
Once the clothing is on, it’s much harder to fix anything without starting over. Check the following:
- Is the cover centered?
- Is the surface flat?
- Are the edges attached?
- Is there any trapped air?
- Does it move when you raise your arms?
- Can you see the outline through the fabric?
- Does your skin feel comfortable?
If you’re wearing something tight, give the adhesive a little time to settle before pulling the garment on. That small pause can prevent the cover from shifting.
What if your skin becomes irritated?
Remove the covers if you feel burning, strong itching, swelling, or ongoing redness.
Don’t keep wearing them just because you’re already dressed. A special event isn’t worth making an irritation worse.
Try a patch test when using a new product, especially if your skin is sensitive. Never apply adhesive covers to broken, sunburned, freshly shaved, or irritated skin.
After removal, wash the area gently and leave it alone. If the reaction is severe or doesn’t settle, get medical advice.
What is the simplest way to avoid bubbles?
Keep the application slow and boring. That’s usually what works.
Before applying:
- Clean the skin.
- Dry it completely.
- Skip lotion, oil, powder, perfume, and sunscreen.
- Hold the cover by the edge.
- Check the position first.
- Place the middle before the sides.
- Smooth outward.
- Press the edge once the surface is flat.
- Store reusable covers with the protective film.
Most bubbles are not caused by one dramatic mistake. They come from several small ones: slightly damp skin, a rushed application, and a cover that was folded in storage.
Fix those, and the problem usually becomes much less common.
The TL;DR
To avoid bubbles under silicone nipple covers, apply them to clean, dry skin and press from the center outward.
- Don’t use lotion or oil beforehand.
- Keep the cover flat during storage.
- Don’t stretch the silicone as you apply it.
- Place the center first.
- Smooth toward the edges.
- Lift and reposition a wrinkle instead of rubbing harder.
- Test the covers under your actual outfit.
- Replace covers that have permanent folds or weak adhesive.
- Stop using them if your skin reacts.
It really is a small technique change, but it makes a noticeable difference.
And if you still get a bubble once in a while, don’t panic. Lift the cover, reposition it, and try again. Silicone nipple covers are not difficult to use. They just don’t reward rushing.