-
C/O 2221 Remington Ave, Ontario, Kalifornien

How to Reactivate the Adhesive on Your Silicone Covers in 3 Steps.
Alright, my fellow aficionados of all things perfectly presented! As a seasoned veteran with two decades under my belt, working day in and day out with the intricate chemistry of adhesion, the subtle dance of surfaces, and the sheer magic of making things stick (and stay stuck!), I’ve seen it all. From the delicate balance required for a flawless gel polish application to the meticulous prepping that ensures a base coat grips like a dream, I live and breathe the science of stickiness.

Now, I know what you might be thinking: “What does a nail expert know about my silicone covers?” Ah, my dear friends, the principles, the foundational truths about maintaining integrity, cleanliness, and the delicate nature of adhesives? They transcend categories! Whether we’re talking about the lasting power of a perfectly cured UV lamp gel or the discreet confidence offered by your favorite silicone cover, the underlying mechanisms of keeping that precious sticky surface performing optimally are surprisingly similar. It’s all about understanding the material, respecting its limitations, and applying a touch of expert care.
We’ve all been there, haven’t we? That moment of dismay when your once perfectly adhesive silicone cover, a reliable companion for seamless style, begins to lose its grip. It feels like a betrayal, doesn’t it? One day it’s your trusty secret weapon, the next it’s just… flopping. Don’t despair! This isn’t the end of its life cycle; often, it’s just crying out for a little professional love. Just like a nail that needs a fresh application after weeks of wear, your silicone covers simply need a reset, a gentle nudge back to their former glory.
And here’s the good news: reactivating that essential stickiness is not some mystical, salon-only ritual. It’s a surprisingly straightforward process, a DIY project you can tackle with confidence right in your own home. Think of it as giving your beloved covers a mini spa treatment, a revitalizing session that breathes new life into their adhesive heart. We’re not just saving a product; we’re extending its useful life, saving you money, and reducing waste. That, my friends, is smart, sustainable style, and something I, as an industry expert, wholeheartedly endorse.
Ready to reclaim that cling? Let’s dive in. We’ll walk through a simple, three-step guide that will transform your seemingly defunct silicone covers back into the discreet, reliable allies you know and love. Consider me your personal adhesive guru, guiding you through the nuanced world of silicone restoration.
Innehållsförteckning
- Understanding the “Stick”: The Science Behind Silicone Adhesion
- Step 1: Gentle Cleansing – The Foundation of Reactivation
- Step 2: Air Drying – Patience is a Virtue
- Step 3: The Reactivation Boost – A Touch of TLC
- Pro Tips for Longevity and Optimal Stickiness
- Troubleshooting Common Issues
- Slutsats
Understanding the “Stick”: The Science Behind Silicone Adhesion
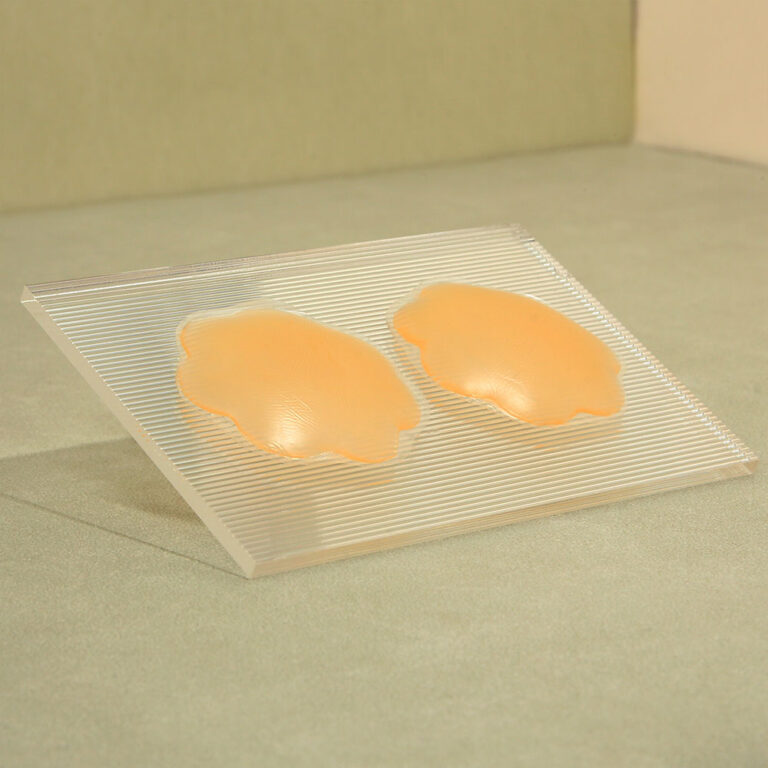
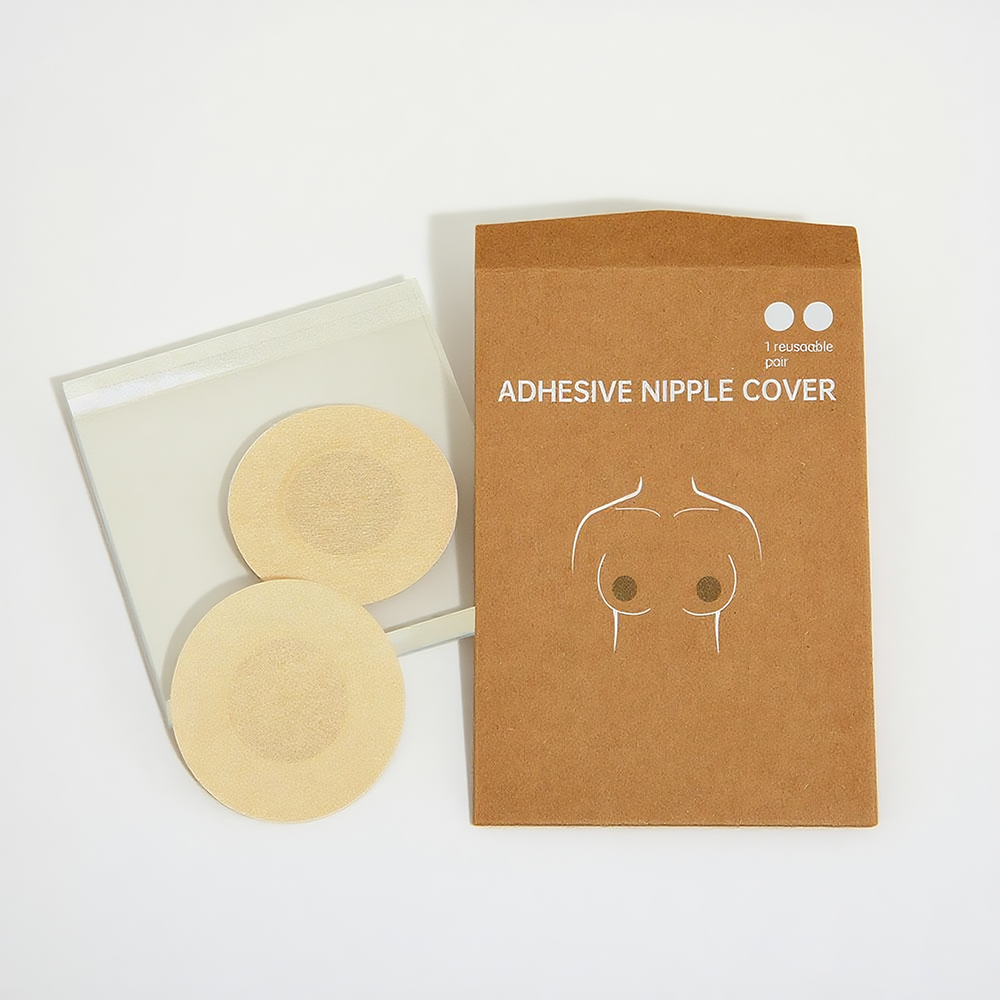
Before we jump into the ‘how,’ let’s spend a brief moment on the ‘why.’ What exactly gives your silicone covers that initial, glorious cling? Most reusable silicone covers utilize a very mild, skin-safe adhesive layer integrated into the silicone itself. This isn’t like super glue, obviously. It’s designed for gentle, temporary adhesion. The real magic, though, comes from a combination of this mild adhesive and the natural tackiness of the silicone interacting with your body’s warmth and natural electrostatic charge.
Think of it like this: when we prep a nail for a beautiful overlay, we cleanse it meticulously, ensuring there’s no oil, no dust, no debris. That’s because even a microscopic particle can disrupt the bond, creating lifting or poor adhesion. Your silicone covers are no different. Over time, that delicate adhesive surface becomes a magnet for everything it encounters: body oils, lotions, tiny fibers from clothing, dust particles floating in the air, even microscopic skin cells.
These contaminants act like a barrier, a stubborn inhibition layer, much like what you’d find on a freshly cured gel polish layer, only far more detrimental to its stickiness. They prevent the adhesive molecules from making proper contact with your skin, causing that frustrating slip-and-slide effect.
It’s crucial to understand that no adhesive is truly ‘permanent’ in this context. While silicone covers are designed for repeated use, they aren’t impervious to the wear and tear of daily life. Reactivation isn’t about creating new adhesive; it’s about revealing and restoring the existing one, allowing it to perform at its peak once more by removing all the pesky interferences. We’re essentially giving it a clean slate, much like we cleanse and dehydrate a nail plate before any product application.
Step 1: Gentle Cleansing – The Foundation of Reactivation
This is where the magic truly begins. Just as a pristine canvas is essential for a masterpiece, a perfectly clean adhesive surface is paramount for successful reactivation. Skimp here, and you’re essentially building a house on sand. We want that surface absolutely, impeccably clean, ready to bond.
What You’ll Need
- A very mild, non-moisturizing soap: Think clear dish soap (like Dawn, often used in professional settings for deep cleaning without residue), or even a gentle baby shampoo. Avoid anything with lotions, oils, or strong perfumes.
- Lukewarm water: Not hot, not cold. Just right, like Goldilocks’ porridge.
- Your fingertips or a very soft, lint-free cloth: Nothing abrasive, ever. We’re not sanding down a nail plate here; we’re delicately tending to a sensitive surface.
The Process
Rinse First: Gently hold your silicone cover under lukewarm running water, adhesive side up. Let the water wash away any loose dust or fibers. This is like a preliminary rinse for your hair, getting rid of the superficial stuff.
Lather Up, Gently: Dispense a tiny drop of your chosen mild soap onto the adhesive surface. Using your fingertips, or that super-soft cloth, very, very gently work the soap into a light lather. Imagine you’re polishing a delicate piece of jewelry, or carefully cleaning a finished nail art design; no harsh scrubbing! You’re aiming to lift away body oils, lotions, and any other residue that’s built up, not abrade the surface.
Rinse, Rinse, Rinse Thoroughly: This is a critical step, much like ensuring all traces of cleanser are gone from a nail bed before applying a bond. Hold the cover again under lukewarm running water, making sure every last bubble and trace of soap is completely washed away from the adhesive side. Run your fingers over the surface – it should feel slick, but not soapy. Any lingering soap residue will leave a film that prevents stickiness, just like oil on a nail plate can cause gel polish to lift.
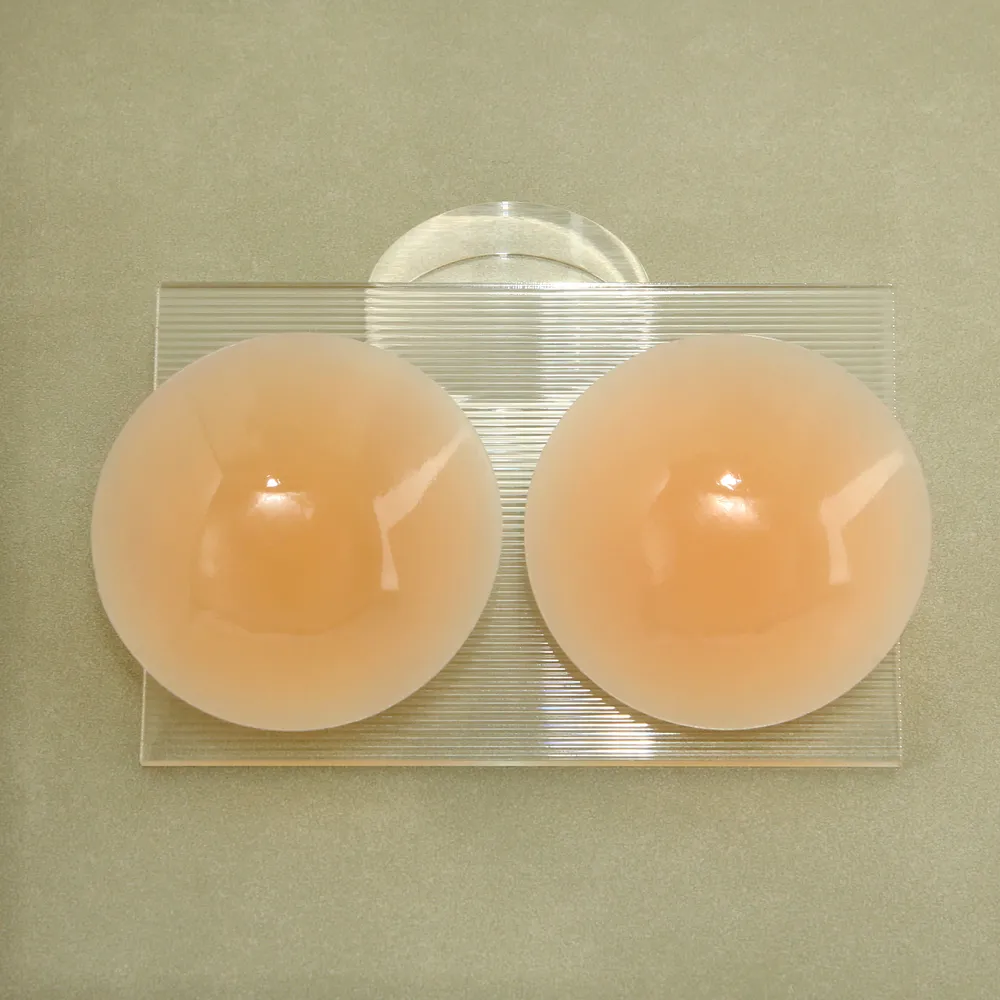
Visual Check: Once rinsed, hold the cover up to the light. Does the adhesive surface look clear? Free of lint, smudges, or any milky film? If not, repeat the gentle washing and rinsing process. We’re aiming for crystal clarity here, an unblemished surface ready for action.
Expert Tip: Why Harsh Chemicals Are a No-Go
Resist the urge to reach for alcohol wipes (unless specifically instructed in a later, cautious step for specific issues) or abrasive cleaners, even strong detergents. These can aggressively break down the delicate adhesive matrix embedded in the silicone, or worse, dry out the silicone itself, leading to permanent damage, cracking, or loss of elasticity. Think of it like using acetone to remove gel polish – it’s effective, but too harsh for regular cleaning and certainly not for reactivating without proper technique. We want to nurture, not strip and destroy.
Step 2: Air Drying – Patience is a Virtue
This step is often overlooked, but it’s absolutely vital to the success of your reactivation mission. Rushing here is like trying to apply topcoat to a wet nail polish – disaster awaits. Air drying allows the surface to return to its natural state, letting any residual moisture evaporate fully and naturally, which is crucial for the adhesive’s integrity.
What to Avoid
- Towels: Any fabric towel, no matter how soft, will leave behind tiny fibers and lint that will immediately negate all your hard cleaning work. It’s like finding a rogue piece of glitter on a perfectly smooth nail surface; frustrating!
- Direct heat: Steer clear of hairdryers, direct sunlight, radiators, or any other heat source. Excessive heat can permanently degrade the adhesive properties of the silicone, making it brittle, less effective, or even melting it. This is like over-curing gel polish under a UV lamp at too high a temperature – it can damage the product.
The Process
Shake Off Excess: After the final rinse, give the silicone cover a gentle shake to dislodge any large water droplets. You want it damp, not dripping wet.
Position Carefully: Lay the cover, adhesive side UP, on a clean, dry, and dust-free surface. A plate, a clean countertop that’s just been wiped down, or even a piece of wax paper works wonderfully. Consider your nail station after a thorough cleanup – that’s the kind of environment we’re aiming for.
Allow Ample Time: This isn’t a race. Depending on humidity levels in your environment, it could take anywhere from a few minutes to an hour or more for the cover to fully air dry. Patience is key. You’ll literally see the surface transform as the water evaporates, often becoming visibly clearer and, crucially, tackier to the touch. It’s an almost magical transformation.
Expert Tip: The “Tacky Test”
How do you know it’s truly dry and ready? Once it looks visibly dry, gently touch a clean fingertip to the adhesive surface. It should feel distinctly tacky, like a fresh sticker. If it still feels slick or wet, give it more time. If it feels completely dry and non-sticky, don’t worry, the next step might be just what you need, but ensure it’s *completely* dry first.
Step 3: The Reactivation Boost – A Touch of TLC
Sometimes, even after thorough cleaning and perfect air drying, that desired stickiness isn’t quite back to full power. This is where we bring in a little extra TLC, a gentle encouragement for those adhesive molecules to perk up. Think of it as a specialized treatment, like a cuticle oil application for healthy nails – a little extra care makes a world of difference.
The Warm Water Bath Method
This is my preferred gentle method for an extra boost. It’s almost counter-intuitive, isn’t it? Adding water back after meticulous drying? But there’s a method to this madness, a subtle scientific principle at play. Mild warmth can help adhesive molecules, which might have become somewhat dormant or flattened over time, to become more active and pliable, allowing them to better grip a surface.
- What you’ll need: A shallow bowl and lukewarm (not hot!) water.
- The process:
- Fill a shallow bowl with lukewarm water, similar to the temperature you used for cleaning.
- Carefully submerge the adhesive side of your already cleaned and air-dried silicone cover into the water for about 1-2 minutes.
- You can gently agitate the water slightly, or just let it sit.
- Remove the cover and *gently* shake off any excess water.
- Immediately proceed to air drying again, following the instructions in Step 2, ensuring it’s completely dry before testing.
The brief exposure to warmth, followed by a thorough air dry, can often coax out that latent tackiness. It’s a gentle re-awakening for the adhesive.
The Alcohol Wipe Method (Use with Caution!)
Now, this is an advanced technique, a last resort for truly stubborn cases, and one that comes with a critical warning label, much like using a powerful nail drill; it’s effective, but precision and caution are paramount. Isopropyl alcohol (IPA), specifically 70%, can be excellent for dissolving tenacious body oils and residues that even soap and water might miss. However, overuse or using a concentration that is too high can dry out and damage the silicone or its adhesive layer. This isn’t for every type of silicone cover, so proceed with extreme caution and always test first!
- What you’ll need: 70% Isopropyl alcohol and a fresh, clean cotton pad or lint-free wipe.
- The process:
- Ensure your silicone cover is already clean and dry from Steps 1 and 2.
- Dampen (do not soak!) a fresh cotton pad with 70% isopropyl alcohol.
- CRITICAL: First, test on an inconspicuous edge of the silicone cover, not the main adhesive area. Dab it, wait a minute, and check for any adverse reactions like discoloration, stickiness turning gooey, or damage. If it passes the test, proceed.
- With a very light hand, swiftly wipe the adhesive surface of the cover. We’re talking a quick, single pass.
- The alcohol should flash off (evaporate) almost immediately. Do not rub or scrub. Do not reapply multiple times.
- Allow to air dry for another minute or two, even though it should be nearly instantaneous.
Why it works: The alcohol effectively dissolves lingering oils and residues, and because it evaporates so quickly, it minimizes contact time, reducing the risk of damaging the silicone itself. But seriously, use sparingly and cautiously, like applying a strong base coat – too much can be detrimental.
Expert Tip: Combining Methods
For those truly defiant covers, you might find success by combining a gentle cleaning (Step 1), a thorough air dry (Step 2), followed by a brief warm water bath, and then *another* air dry. Only if that still isn’t quite cutting it, and if your cover passed the patch test, consider the extremely light, single alcohol wipe as a final, precise intervention. Think of it as a multi-stage nail repair – sometimes one step isn’t enough for a full restoration.
Pro Tips for Longevity and Optimal Stickiness
Reactivating your covers is fantastic, but prevention is always better than cure. Here are my professional insights for keeping your silicone covers in tip-top shape, ensuring they stay sticky and reliable for as long as possible.
Proper Storage
This is crucial! Always store your covers in their original packaging, or a clean, sealed container (like a small plastic box or a ziplock bag). The goal is to keep them away from dust, lint, pet hair, and anything else that could contaminate the adhesive surface. Just like we store our expensive gel polish bottles upright and away from light, proper storage protects the integrity of your product.
Daily Gentle Cleaning
After each use, give your covers a quick, gentle rinse under lukewarm water. You don’t always need soap; often, plain water is enough to remove fresh body oils and sweat before they have a chance to bond with the adhesive. Air dry them thoroughly (adhesive side up!) before storing. This quick routine prevents buildup, making deeper reactivations less frequent.
Avoid Lotions and Oils
This should be obvious, but it bears repeating. Apply your lotions, body oils, and perfumes well in advance, allowing them to fully absorb into your skin before you even think about putting on your silicone covers. Any oily residue on your skin will transfer directly to the adhesive, immediately compromising its grip. Think of it like trying to do nail art on an oily nail plate – it just won’t adhere properly.
Knowing When to Replace
Let’s be real: even with the best care, silicone covers won’t last forever. Eventually, the adhesive will genuinely degrade, or the silicone itself might start to lose its elasticity or tear. If you’ve tried all the reactivation steps multiple times and they still refuse to stick, or if the silicone material shows visible signs of wear and tear (like thinning, tearing, or permanent discoloration), it’s probably time to respectfully retire them and invest in a fresh pair. Just like an old nail file eventually loses its grit, every product has its lifespan.
Troubleshooting Common Issues
Even with expert guidance, sometimes things don’t go exactly as planned. Here are a few quick tips for common hiccups:
Still Not Sticky?
- Re-evaluate cleanliness: Did you really get every speck of residue off? Sometimes an extra round of gentle soap and water is needed.
- Consider the water quality: If you have hard water, mineral deposits might be forming. Try using distilled water for the final rinse.
- Age of the product: As mentioned, sometimes they’ve simply reached the end of their lifespan.
Residue on Skin?
- This usually indicates either soap wasn’t thoroughly rinsed off, or if you used the alcohol wipe, you might have over-saturated the cotton or rubbed too hard, causing a slight breakdown of the adhesive. Go back to a gentle, plain water rinse for the cover, and allow it to air dry fully.
Physical Damage?
- If the silicone itself is torn, stretched, or discolored in a way that affects its shape or ability to lie flat, reactivation of the adhesive won’t fix the structural integrity. Unfortunately, these covers are likely beyond repair.
Slutsats
There you have it! From a nail industry expert who understands the profound importance of proper adhesion, hygiene, and product longevity, you now possess the knowledge and practical steps to reactivate the adhesive on your silicone covers. It’s a simple process, yes, but one that requires a meticulous touch, a dash of patience, and an understanding of the delicate balance of materials and their care.
By following these three comprehensive steps – gentle cleansing, meticulous air drying, and an optional reactivation boost – you’re not just bringing a product back to life; you’re adopting a sustainable practice, saving money, and ensuring your style remains as seamless and confident as ever. No more premature goodbyes to your favorite discreet accessories! You’re now a silicone cover care pro, equipped with the insider knowledge to maintain that perfect cling, allowing you to confidently tackle any outfit, any day. Go forth, my friends, and embrace the power of proper care!