-
C/O 2221 Remington Ave, Ontario, Californie

Comment scotcher vos seins ? Nous pouvons vous aider !
Let’s be honest: most of us can figure out winged eyeliner, but the second a dress needs “boob tape,” our brain blue‑screens. The idea sounds simple—stick, lift, done—yet one bad taping session can mean red raw skin and a dress you can’t wait to take off.
So if you’ve ever stood in front of the mirror, roll of tape in one hand and mild panic in the other, this is for you.
Table des matières
Quelle est la bonne façon de scotcher vos seins ?
The right way to tape your breasts is to pick skin‑safe tape, cover your nipples, lift in stages with shorter strips, and remove everything gently with oil or warm water afterward.
Taping isn’t just “slap some tape on and hope.” When it works, it feels like you custom‑built a secret bra for that one impossible outfit; when it doesn’t, it’s chafing, sticky residue, and an uncomfortable shower at 2 a.m.
Here’s the basic safe routine most experts agree on:
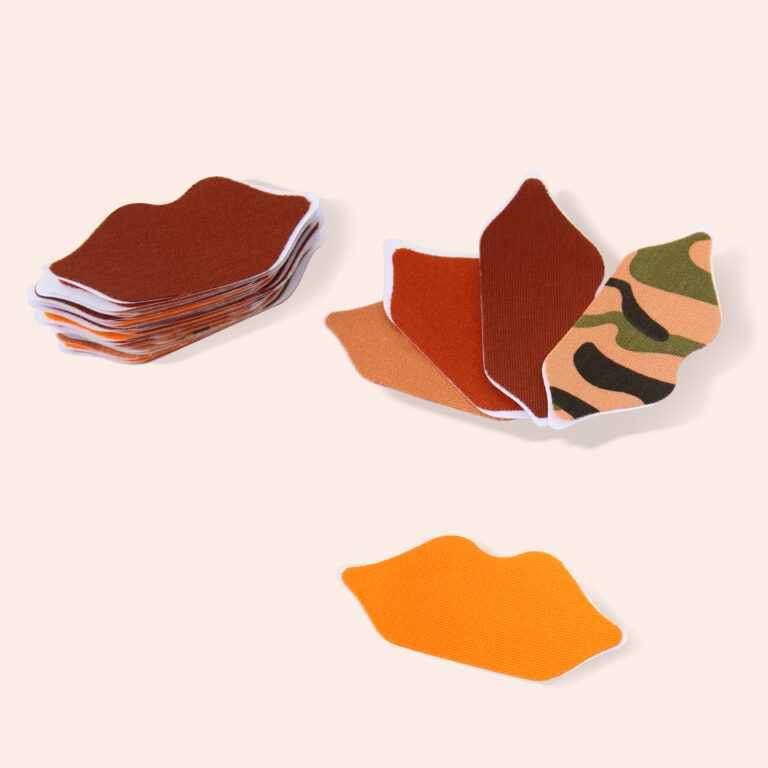
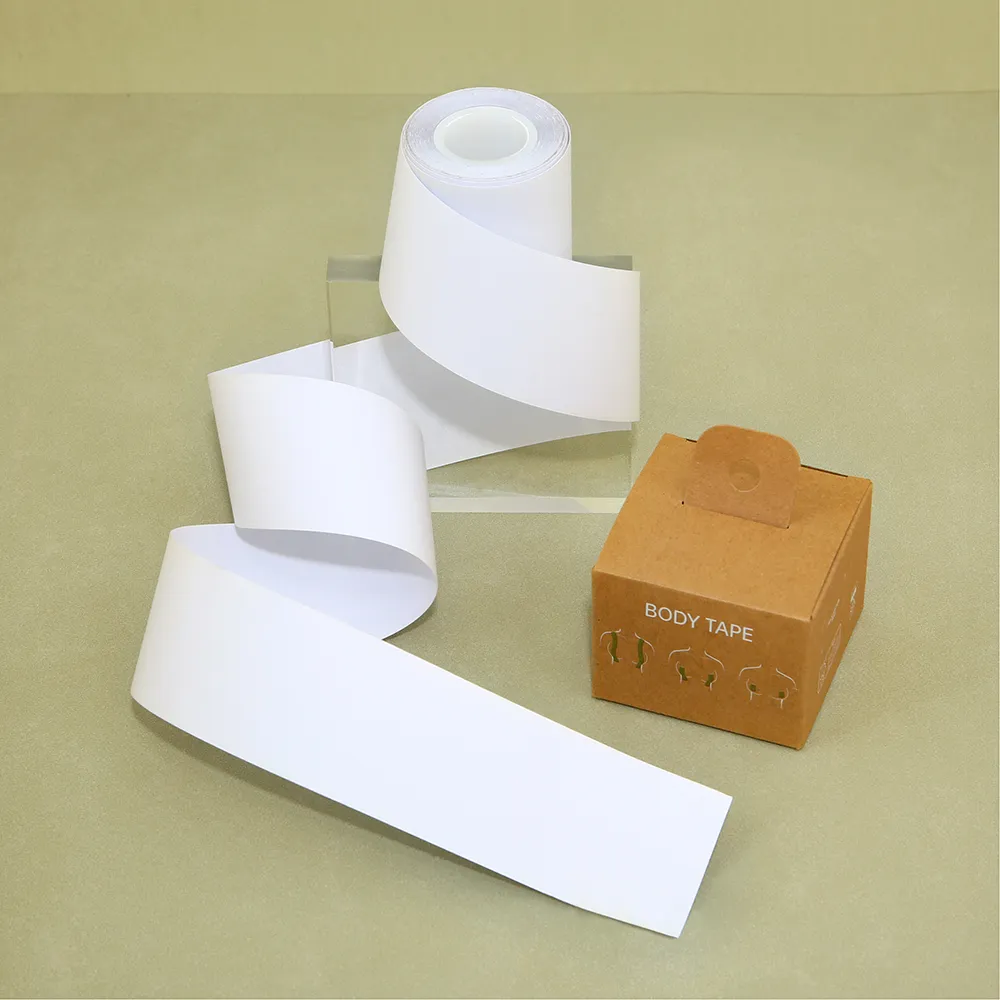
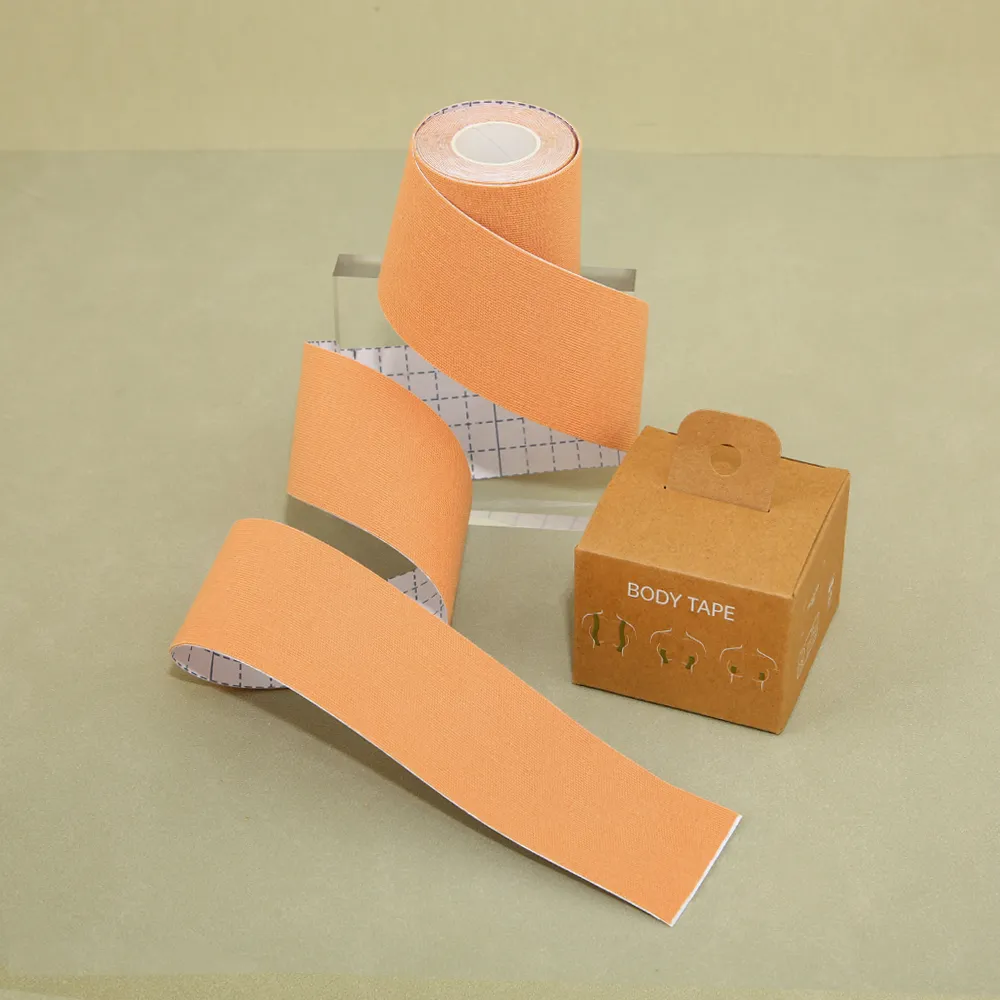
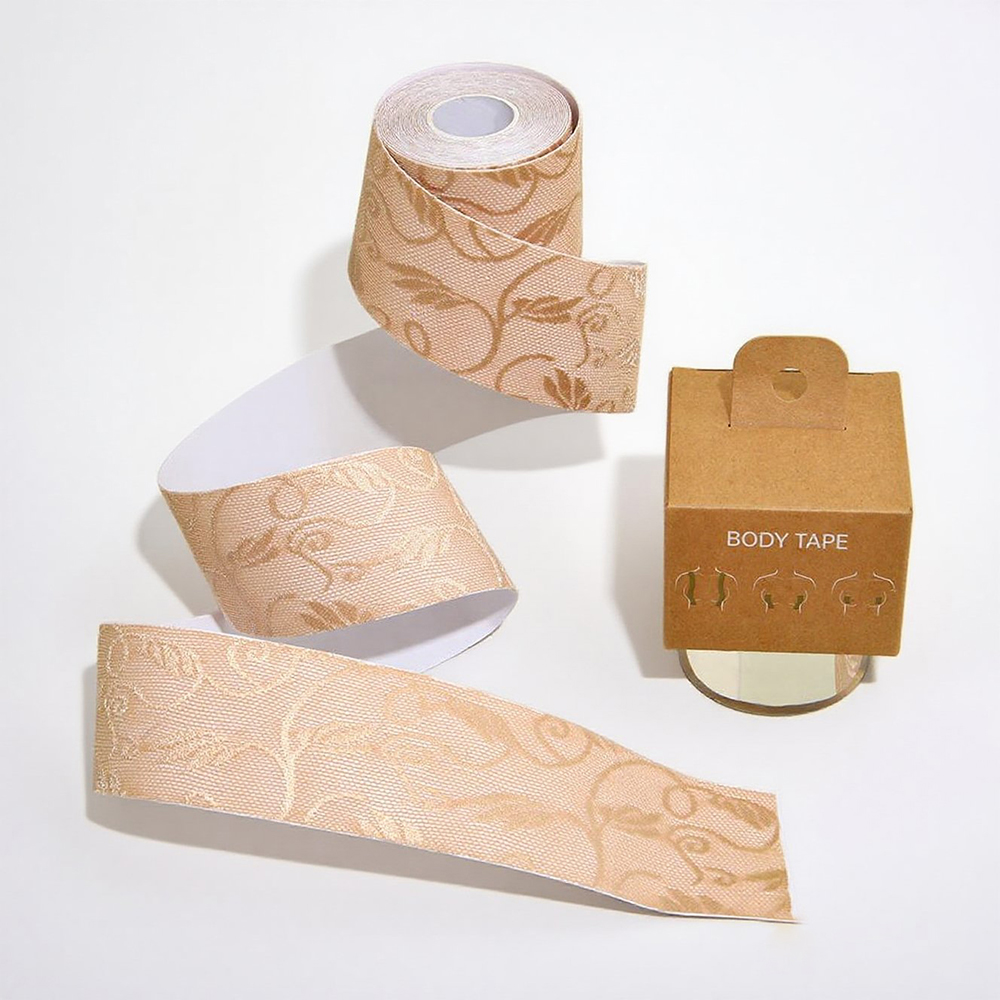
- Choisir ruban adhésif pour la poitrine or athletic/sports tape and skip anything from the toolbox.
- Do a small patch test at least a day before you wear it out.
- Make sure your skin is clean, dry, and free of oil or body lotion.
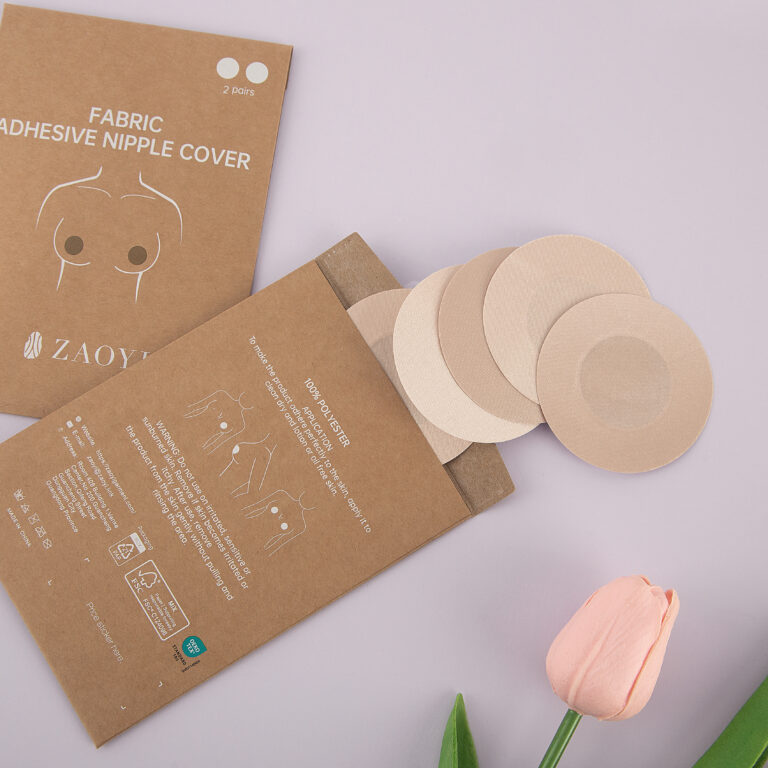
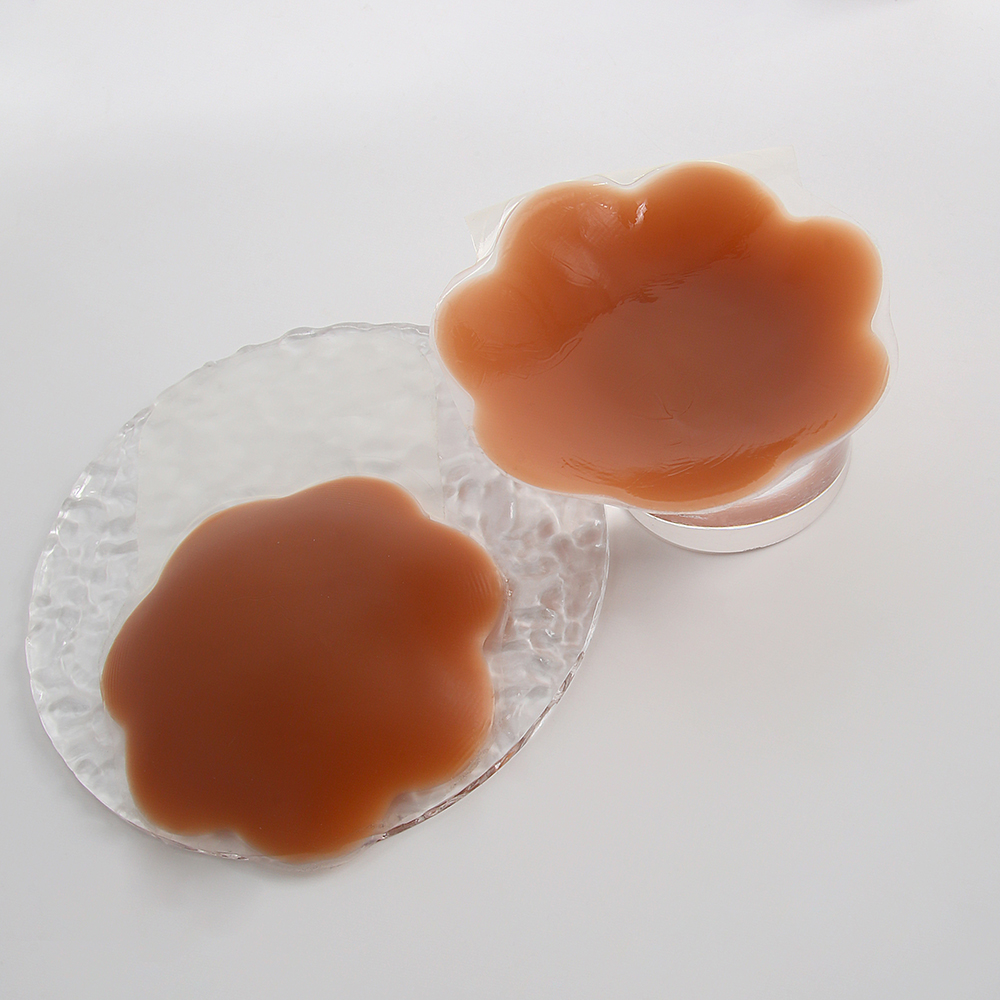
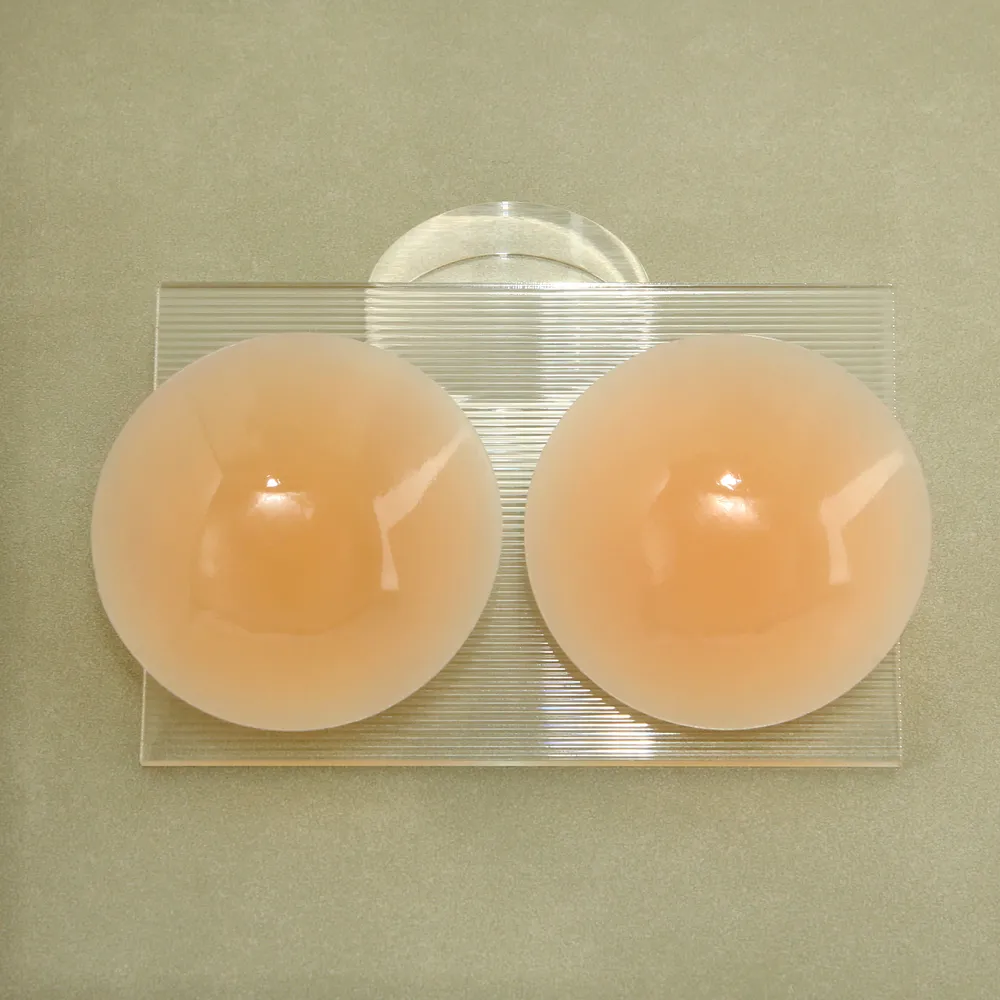
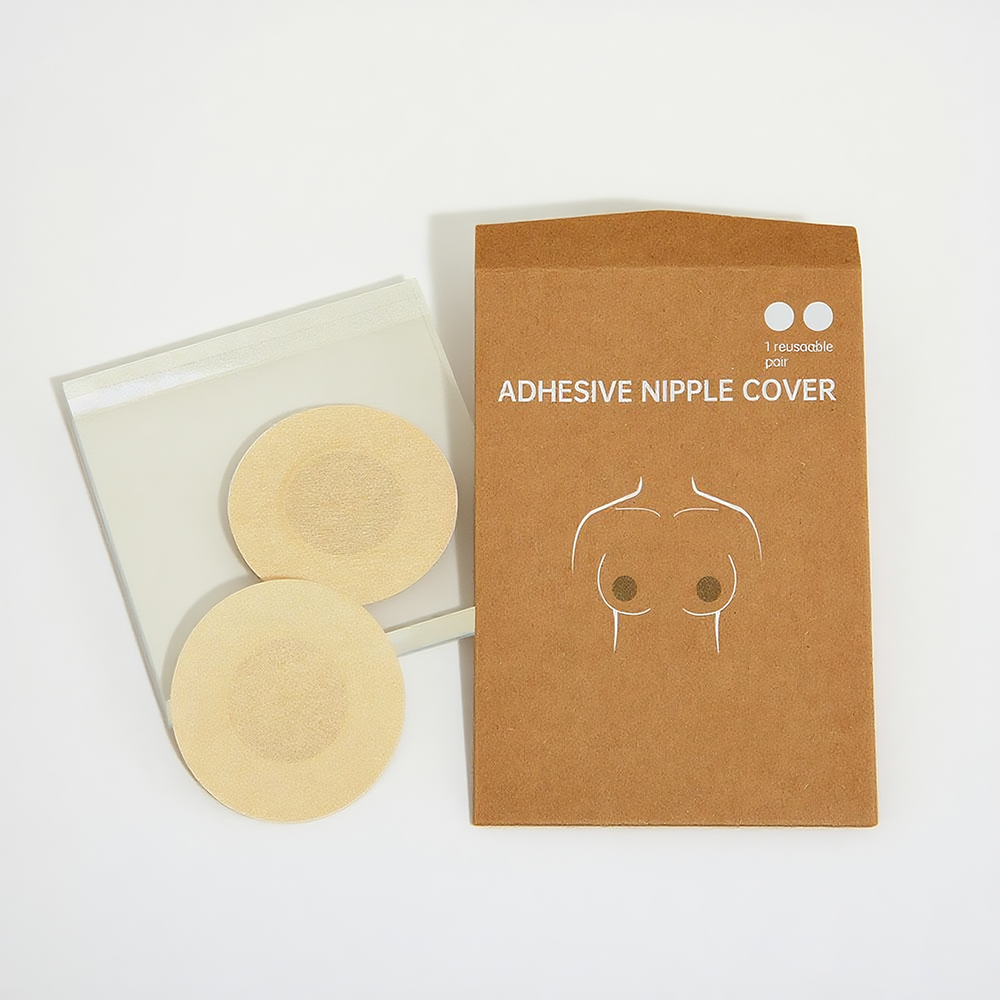
- Put nipple covers, cotton pads, or silicone shields over each nipple.
- Use several shorter strips to lift and shape rather than one giant piece.
- Take the tape off with oil or warm soapy water instead of ripping it off dry.
Quel type de ruban adhésif fonctionne réellement sur les seins ?
The best options are boob tape, sports tape, or gentle medical tape that’s designed to sit on skin; heavy hardware tapes are off the table.
If you’ve seen TikTok hacks using duct tape and felt personally attacked—same. That stuff belongs on cardboard boxes, not your chest.
Which tapes are safest for breasts?
The safer choices are products made for skin contact—breast tape, medical tape, or flexible sports tape that lets your skin breathe.
You’ve basically got three main categories:
- Boob tape / bande de lifting des seins
- Sold specifically for lifting, shaping, and supporting boobs under tricky clothes.
- Usually cotton or similar fabric with a stretchy, breathable backing.
- Strong enough that fuller busts can still get real support.
- Athletic or kinesiology tape
- Built to move with the body and stay put through sweat.
- Flexible, light, and fairly comfortable for longer wear.
- Often needs extra strips for bigger cup sizes because it’s a bit less rigid.
- Gentle medical tape
- Developed for post‑surgery or sensitive skin situations.
- Some versions are tested to reduce irritation and pigment changes.
- Not as sculpting as boob tape but kinder if your skin reacts easily.
What to keep far away from your boobs:
- Duct tape, packing tape, electrical tape, masking tape
- Adhesive is aggressive and can tear or burn the skin.
- Doesn’t breathe, so sweat and heat get trapped underneath.
- Peeling it off can feel like waxing with sandpaper.
If you already know your skin throws tantrums with bandages or certain stickers, lean toward softer medical or specially formulated breast tapes and keep everything as gentle as possible.
How should you prep your skin before taping?
You prep by testing the tape ahead of time, cleaning the skin, skipping lotions, and shielding your nipples before that first strip goes on.
Think of it like doing your skincare before makeup—skip it, and things slide, crack, or freak out later.
Do you really need to patch‑test boob tape?
Yes, a patch test 24 hours before you wear boob tape for a long stretch can save you from an angry rash later.
A quick way to do it:
- Snip a tiny piece of the tape.
- Stick it on a spot like your upper chest or the outer side of your breast.
- Leave it on for several hours or overnight.
- Watch for burning, itching, or obvious irritation when it’s on and after it comes off.
If your skin looks or feels upset, retire that roll and try a different product.
What’s the best way to clean and prep your skin?
Wash the area with mild soap, dry thoroughly, and avoid any product that leaves slip or shine where the tape will sit.
Keep the prep minimal and boring:
- Gently wash your chest and under‑boob area.
- Dry completely; leftover moisture makes tape lift and can cause rubbing.
- Skip body oils, heavy creams, and perfume on the zones you’ll tape.
If you get oily easily or you’re heading into a hot venue, blot the area once more before taping so the adhesive has a fighting chance.
How do you protect your nipples?
Cover your nipples every single time—nipple covers, silicone shields, or soft cotton pads all work under tape.
This is non‑negotiable territory:
- Silicone covers are great for extra cushioning and a smooth look.
- Fabric pads or folded cotton rounds also do the job if they sit flat.
- Center them carefully so there are no wrinkles that might show through thin fabrics.
Giving your nipples that barrier is one of the easiest ways to avoid nasty surprises when it’s time to take everything off.
How do you tape your breasts step by step?
In most cases, you cut several strips, cover your nipples, hold the breast where you want it, then secure it with horizontal or diagonal strips that lift and shape.
Once the boobs are prepped, the taping itself is basically a small engineering project.
What are the basic steps for taping your breasts?
The general method is to pre‑cut strips, lift each breast into position with your hand, and apply the tape in layers that follow the direction of the lift you want.
You can adjust the pattern later, but this framework fits most outfits:
- Cut your strips ahead of time
- Plan on 3–6 strips per side, depending on size and the drama level you’re going for.
- Use longer pieces when you need serious lift from under the boob to shoulder or collarbone.
- Cover your nipples first
- Pop on nipple covers or cotton pads and make sure they sit flat.
- Support the breast with your hand
- Stand up normally rather than slouching in a chair.
- Use your hand to gather or lift the tissue to the exact height and shape you want—up for lift, in for cleavage.
- Place the first strip
- For lift: start near the outer underside of the breast and pull the tape up toward your shoulder or collarbone.
- For cleavage: start from the side of the breast and pull inward toward the center of your chest.
- Press it down firmly, but avoid pulling so hard that your ribcage feels squeezed.
- Add more strips for support
- Layer horizontal strips under the bust to create a supportive base.
- Add diagonal pieces at the sides if you want the breasts drawn closer together.
- Smooth down all the edges to prevent rolling under your outfit.
- Test movement and comfort
- Take a deep breath, twist, lift your arms—everything should stay put without digging.
- If something pinches already, it will be unbearable halfway through the night.
- Tidy up the edges
- Trim corners or tuck ends so nothing peeks through or rubs against delicate fabric.
How do you tape for different kinds of outfits?
You adjust tape direction and placement for plunge, strapless, and backless looks so you get support without visible lines.
Think of it like changing bra styles: same boobs, different hardware.
How do you tape for a deep V or plunging neckline?
For plunging necklines, you usually tape from the sides or under the breasts toward the shoulders in a V or diagonal pattern, keeping the center chest free.
One simple approach:
- Start at the outer edge of one breast.
- Use your hand to lift and nudge the breast slightly inwards.
- Fix the end of the tape under or beside the breast and sweep it diagonally up to your shoulder or collarbone, avoiding the deep V area.
- Layer another strip or two along a similar path for extra hold.
- Repeat the same pattern on the other side so both breasts look balanced at the neckline.
If you want more drama, add a shorter strip near the inner bottom of each breast, pulling gently inward so they sit closer together.
How do you tape for a strapless or off‑the‑shoulder style?
With strapless pieces, most of the work is done by horizontal strips that run across the lower part of your breasts to create a lifted “shelf.”
Here’s one reliable setup:
- Raise your breasts to the height you want them to sit.
- Run a strip from the outer side of one breast underneath and across to the other side.
- Add 1–2 more strips above that first one, overlapping slightly to build structure.
- Angle the upper strips a little upward if you want extra lift.
What you don’t want is a full tape wrap around your entire ribcage like a cast; that’s how you end up short of breath and bruised.
How do you tape for a backless dress?
For backless looks, tape from under or beside each breast up to the front of the shoulder or upper chest so the back stays completely clear.
Think of all the support coming from the front:
- Anchor the tape under or on the outer edge of the breast.
- Pull it up and slightly inward, securing it toward the front shoulder or upper chest area.
- Repeat with a couple more diagonal strips on each side until you feel stable.
Some people like to pair tape with stick‑on cups for a fuller shape; others prefer just tape for a lighter, more natural look under backless pieces.
Is taping your breasts actually safe?
Breast taping can be reasonably safe when you use products meant for skin, avoid extreme tightness or full‑torso wrapping, and remove the tape slowly, but there’s always some risk of irritation.
Your boobs are not made of Teflon. The skin is thin, there’s a lot of movement, and adhesives can be temperamental.
What problems can breast taping cause?
Possible issues include redness, rashes, blisters, bruising, and in some cases allergic reactions to the adhesive itself.
Here’s what people actually run into:
- Red, itchy skin
- Strong glues can trigger eczema‑like flare‑ups or general irritation.
- Heat and sweat trapped under tape make the situation worse.
- Blisters or peeling
- Pulling the tape off quickly or using extremely sticky tape on delicate areas can tear the top layers of skin.
- Uncovered nipples are especially at risk.
- Tenderness and bruising
- Over‑tight taping can press on breast tissue and ribs in a way that feels sore afterward.
- Wrapping all the way around the chest can restrict breathing and cause pressure marks.
- Allergic responses
- Some adhesives can create a lasting sensitivity, where each exposure brings a stronger reaction.
If your skin starts burning, swelling, or blistering, the move is to get the tape off carefully and give your chest time off from any adhesives.
Can you tape your breasts while pregnant or breastfeeding?
Most sources advise skipping boob tape during pregnancy or breastfeeding unless your doctor gives a green light.
During those seasons, breast skin is often thinner, more stretched, and more reactive, which means it’s easier to irritate or damage. On top of that, swelling or milk flow can change the size of your breasts during the day, so tape that felt fine in the morning can get uncomfortably tight later.
How do you remove boob tape without wanting to cry?
The least painful method is to soak the tape with oil or warm soapy water, let the adhesive soften, and slowly peel it away while holding the skin steady.
This is where patience pays off; rushing removal is how most people get battle scars.
What’s a gentle way to take tape off your breasts?
Soften the glue first, then peel the tape back gradually while supporting the skin with your free hand.
A kinder removal routine looks like this:
- Cover the taped area with baby oil, body oil, or an oil‑based remover and give it a moment to sink in.
- Wait several minutes so the adhesive loosens.
- You can also stand under a warm shower and massage in some mild soap over the tape.
- Start lifting one edge and peel the tape back slowly, keeping it close to the skin instead of pulling straight out.
- Use the other hand to hold the nearby skin so it doesn’t stretch as much.
Once everything is off, clean any leftover stickiness and then apply a gentle, fragrance‑free moisturizer once the skin is completely dry.
What mistakes should you avoid with boob tape?
The biggest mistakes are using harsh tapes, pulling way too tight, wrapping around the whole chest, skipping nipple protection, and leaving the tape on for too long.
A lot of the scary photos online come down to the same handful of errors.
Which boob‑tape habits are especially risky?
Using non‑skin tape, wrapping your torso like a bandage, and sleeping in tape are all habits that crank up your chance of injury.
Here’s what to keep in mind:
- Avoid hardware tapes like duct, packing, electrical, or masking tape on your chest.
- Don’t skip patch testing when you’re trying a tape for the first time.
- Make sure you can take full, deep breaths; if the tape stops your ribs from expanding, it’s too tight.
- Skip any full‑circle wrap around your torso; it’s unnecessary and can compress your lungs and ribs.
- Never tape over sunburns, open cuts, or already irritated skin.
- Plan to remove the tape after your event and avoid wearing it overnight or for multiple days straight.
If you feel strong itchiness, burning, or sudden sharp pain, treat that as a warning sign and take the tape off as safely and quickly as you can.
Key Points
If you’re skim‑reading this on the way to an event, here’s the quick checklist you actually need.
- Choose boob tape, sports tape, or soft medical tape—not duct tape or packing tape.
- Run a patch test the day before you commit to wearing it out.
- Start with clean, dry skin and avoid oils or creams where the tape will go.
- Always cover your nipples with pasties, silicone covers, or cotton pads.
- Work with multiple strips, adjusting the direction based on your neckline.
- Don’t wrap the tape all the way around your chest or pull so tight that your breathing feels limited.
- Take the tape off after your event; your skin needs breaks, not multi‑day bondage.
- Remove tape using oil or warm soapy water, peeling slowly instead of yanking.
Ready to try breast taping without the drama?
Now you’ve got the game plan that sits behind those “how is that dress even staying up?” photos. With the right tape, a bit of practice, and some respect for your skin, you can get that lifted, secure feel without sacrificing your chest to the adhesive gods.
If you’ve had a boob‑tape success story—or absolute disaster—share it. Someone else is definitely standing in front of their mirror right now wondering if they’re about to nail it or regret everything.